


")
Linux Mint
The steps for configuring the network in Linux Mint are slightly different to those in other Linux distributions. This page lists detailed instructions how to set up university WiFi network access using Linux Mint.
Download CA Certificate First
Before you can begin configuring the WiFi connection, you need to have downloaded the required CA certificate. Please refer to the main Linux article for instructions.
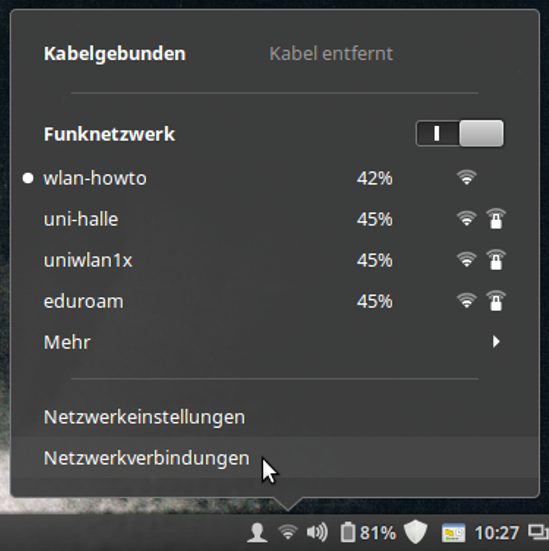
Select the network "uni-halle" from the list of available Wi-Fi networks. A new window should appear, asking you to configure the network's authentication settings.
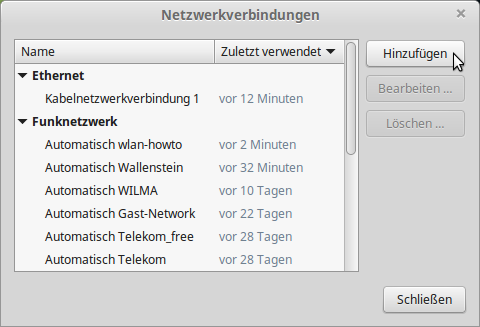
Click "Add…". A new dialog will be opened, allowing you to select the type of network you want to set up.
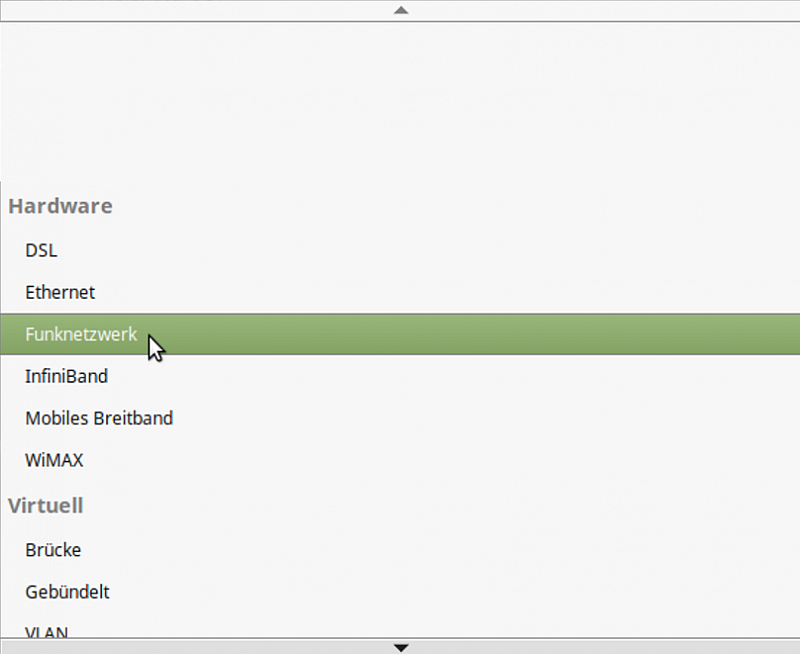
Select "Wireless network" and click "Create".

Give the newly created connection a name of your choosing. Set the SSID to "uni-halle". Then, select the "Security Settings" tab.
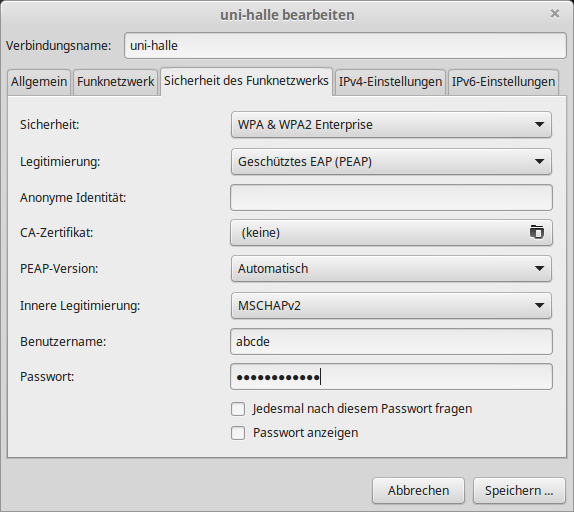
Use "Protected EAP (PEAP)" as authentication, "MSCHAPv2" as inner authentication, and have the computer choose the PEAP version automatically. Leave the field "Anonymous identity" empty.
Enter your five-letter username in the field "Username". Enter the password you received from the Service Portal into the "Password" field.

In the field "CA certificate", select the certificate file you just downloaded. In this case, we use the file "~/Documents/Uni Halle/wpa-eap.crt" we downloaded earlier.
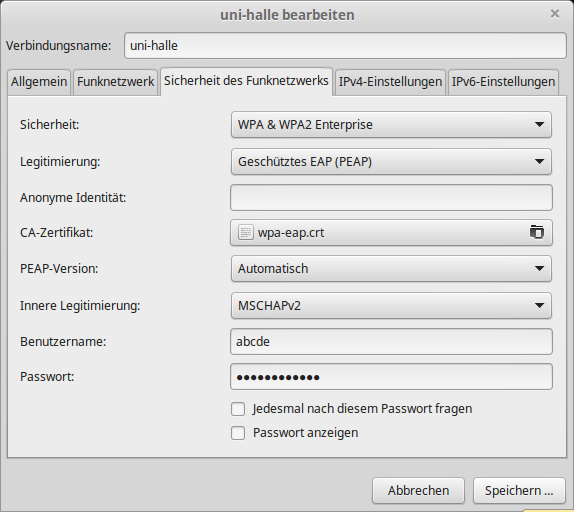
The complete authentication settings can be seen in the picture to the left. Click "Save…" to finish setup.
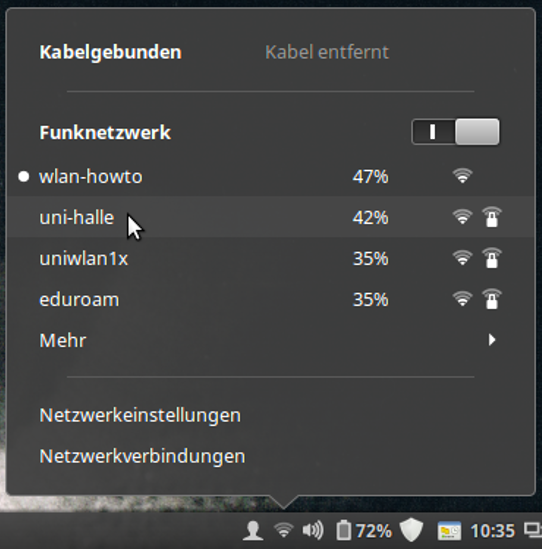
Select "uni-halle" from the list of available WiFi networks.
After a moment, you should see a "Connected" message. The WiFi symbol in your symbol try will have one or more bars, indicating a successful connection.