


")
Android (detailliert)
This page is a detailed guide to connecting your Android phone to the Uni Halle WiFi network in case the simple guide does not suffice. Configuring your phone to connect to our Wi-Fi network requires two steps: 1. Downloading the required certificate to your phone's credential storage, 2. setting up the connection itself.
Differences between Android versions and phone vendors
Please note that your phone vendor may have labeled things differently. We have tried to note the most frequent roadblocks in this manual, but naturally we cannot account for everything.
In case you still have problems connecting, contact our help desk via the contact form link to the right.
Download Certificate

Initiate the download of the CA certificate by tapping the QR code to the left. You can also scan the QR code and open the encoded URL in your browser.
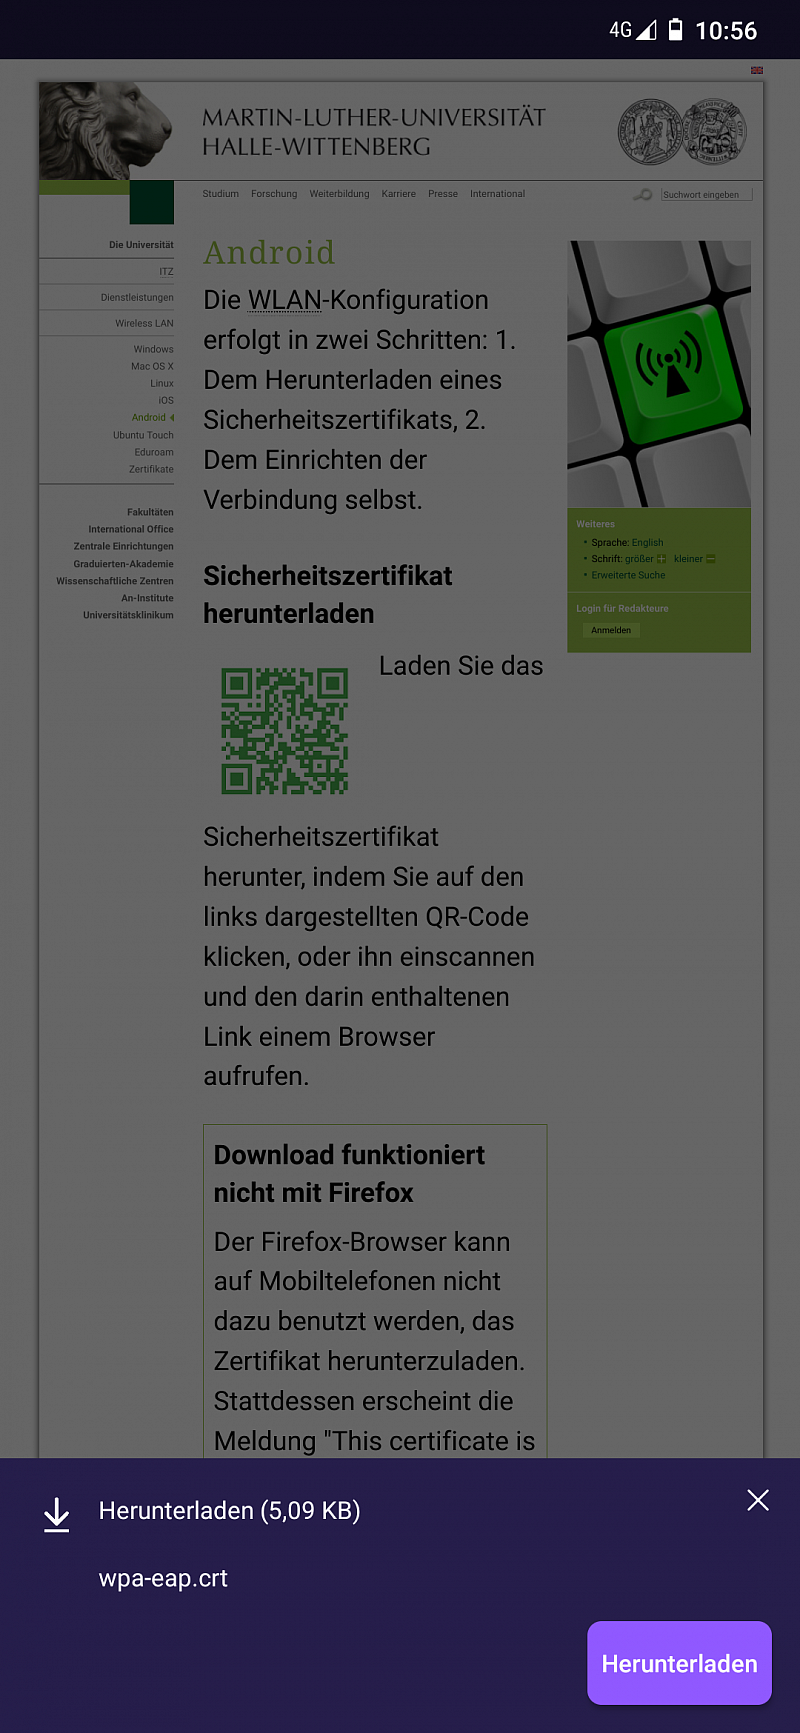
Download WLAN-Zertifikat gestartet
Tap "Download" to save the certificate in your downloads directory. (The file name may be different than the one displayed in the image to the left.)
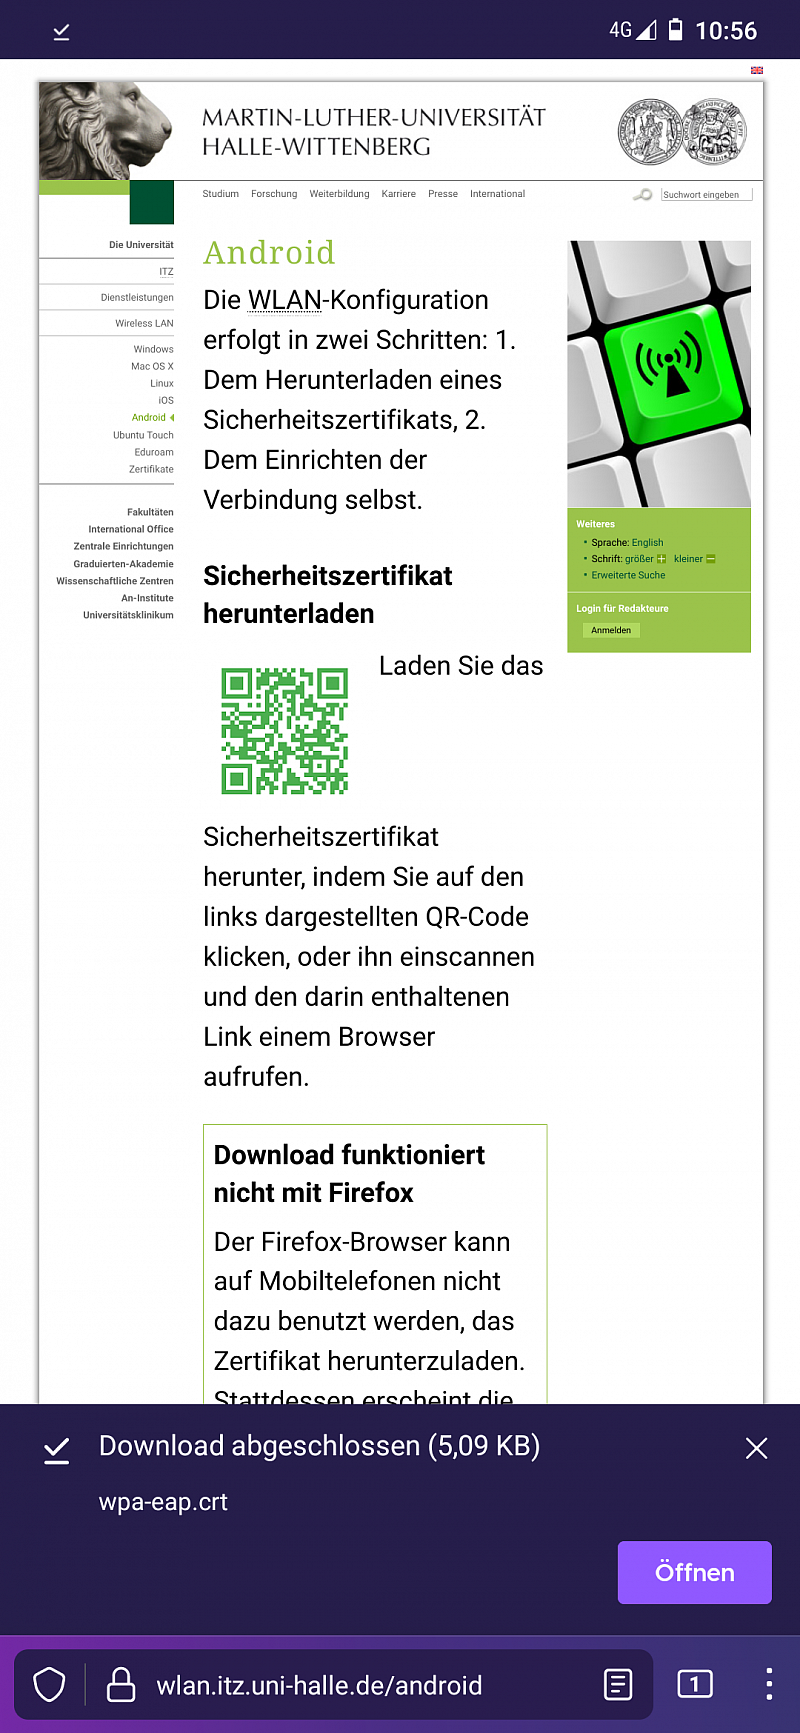
WiFi certificate download successful
Do not tap "Open" after successfully downloading the certificate. Follow the steps below instead to install the certificate file as a dedicated WiFi network certiticate.
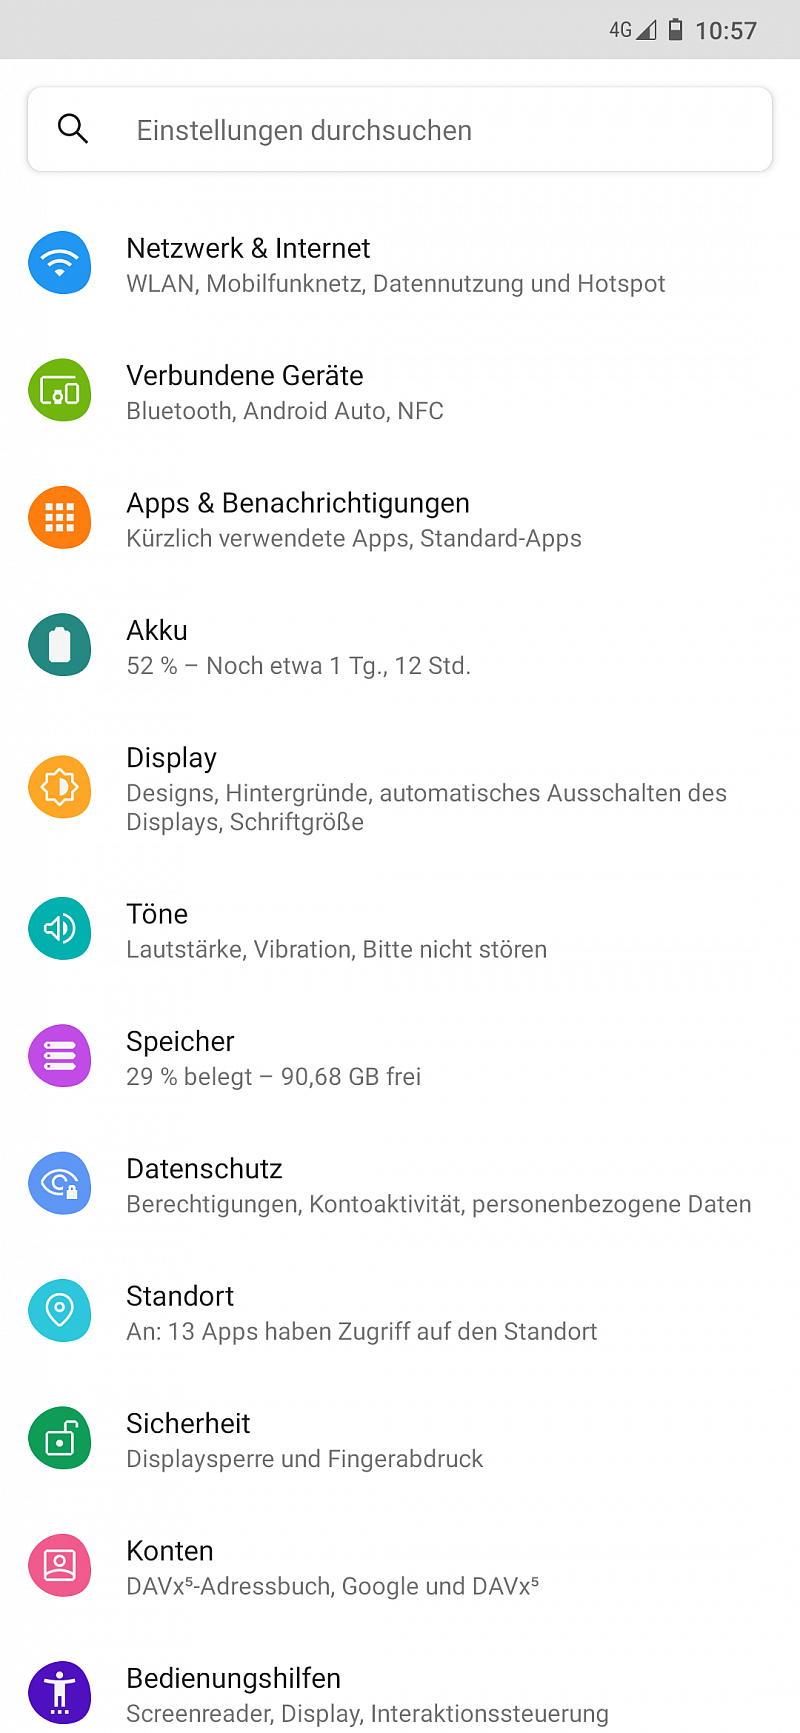
Android settings
Open your phone's settings and tap the search bar at the top. This is the fastest way to find the menu entry for setting up a WiFi certificate.
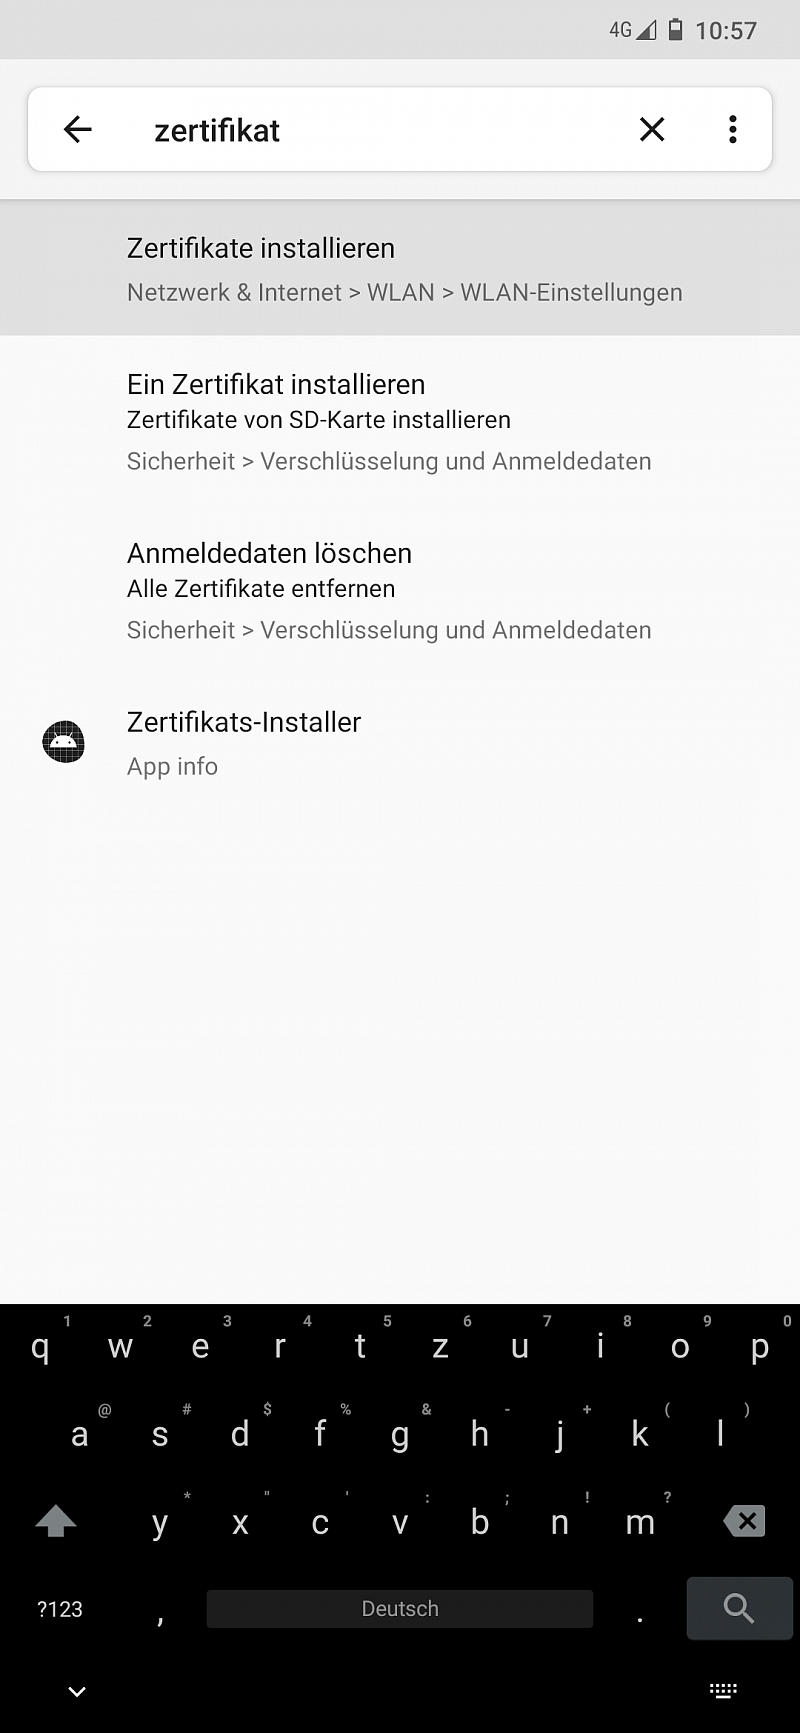
Search settings for "certificate"
The entry for installing a WiFi certificate should be among the first few search results. It is usually located in the "Network" or "WiFi" settings.
Tap the result to be transported to the correct menu entry.
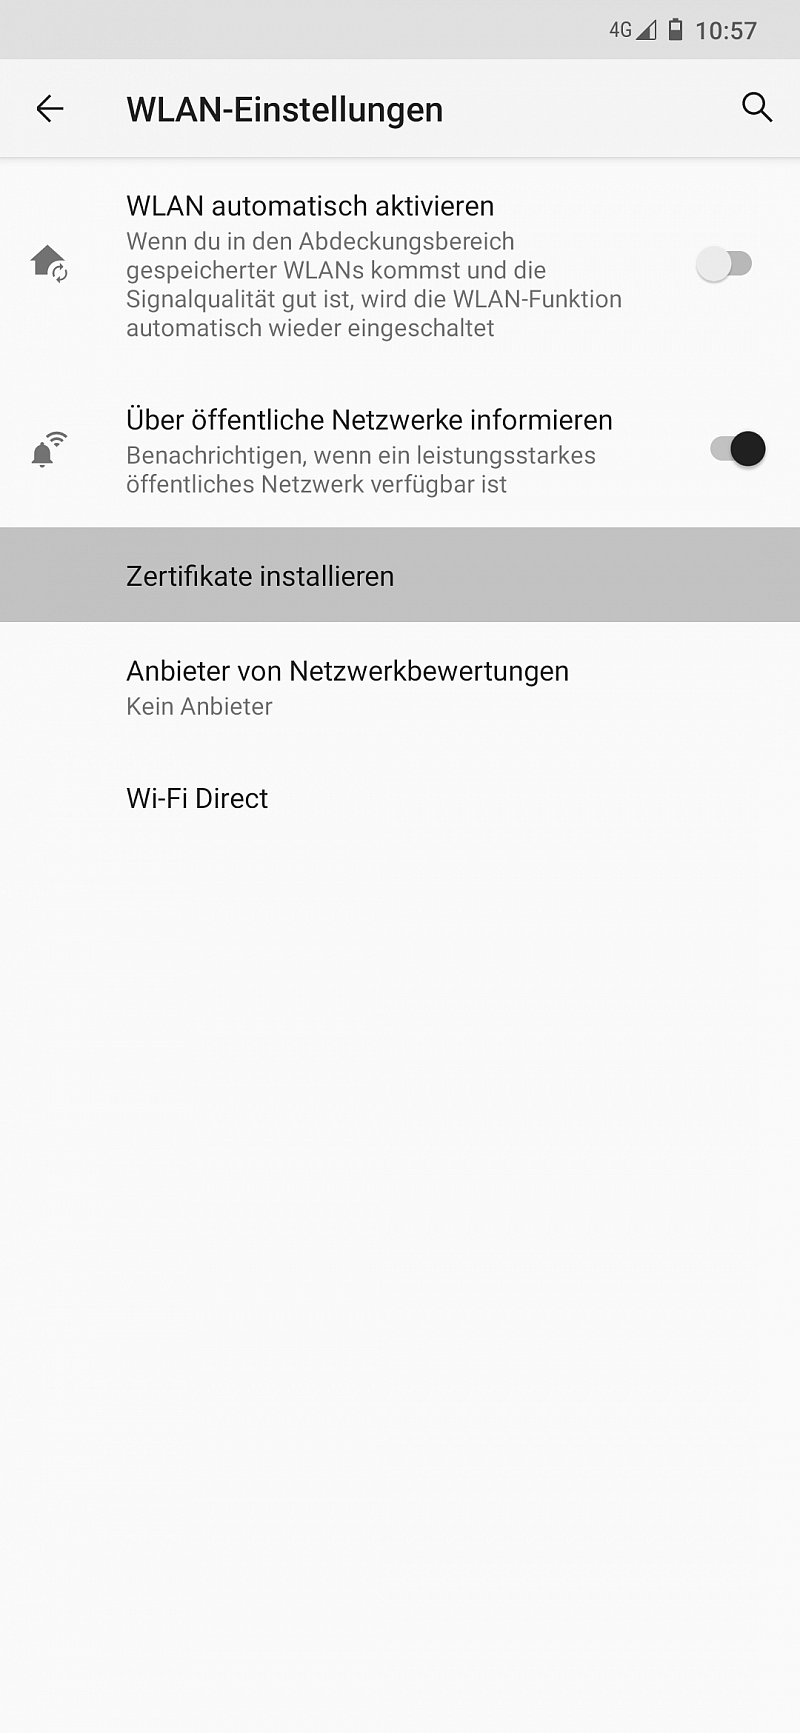
"Install certificate" menu entry
Tap the marked entry (called "Install certificate" here) to start setting up your downloaded certificate.
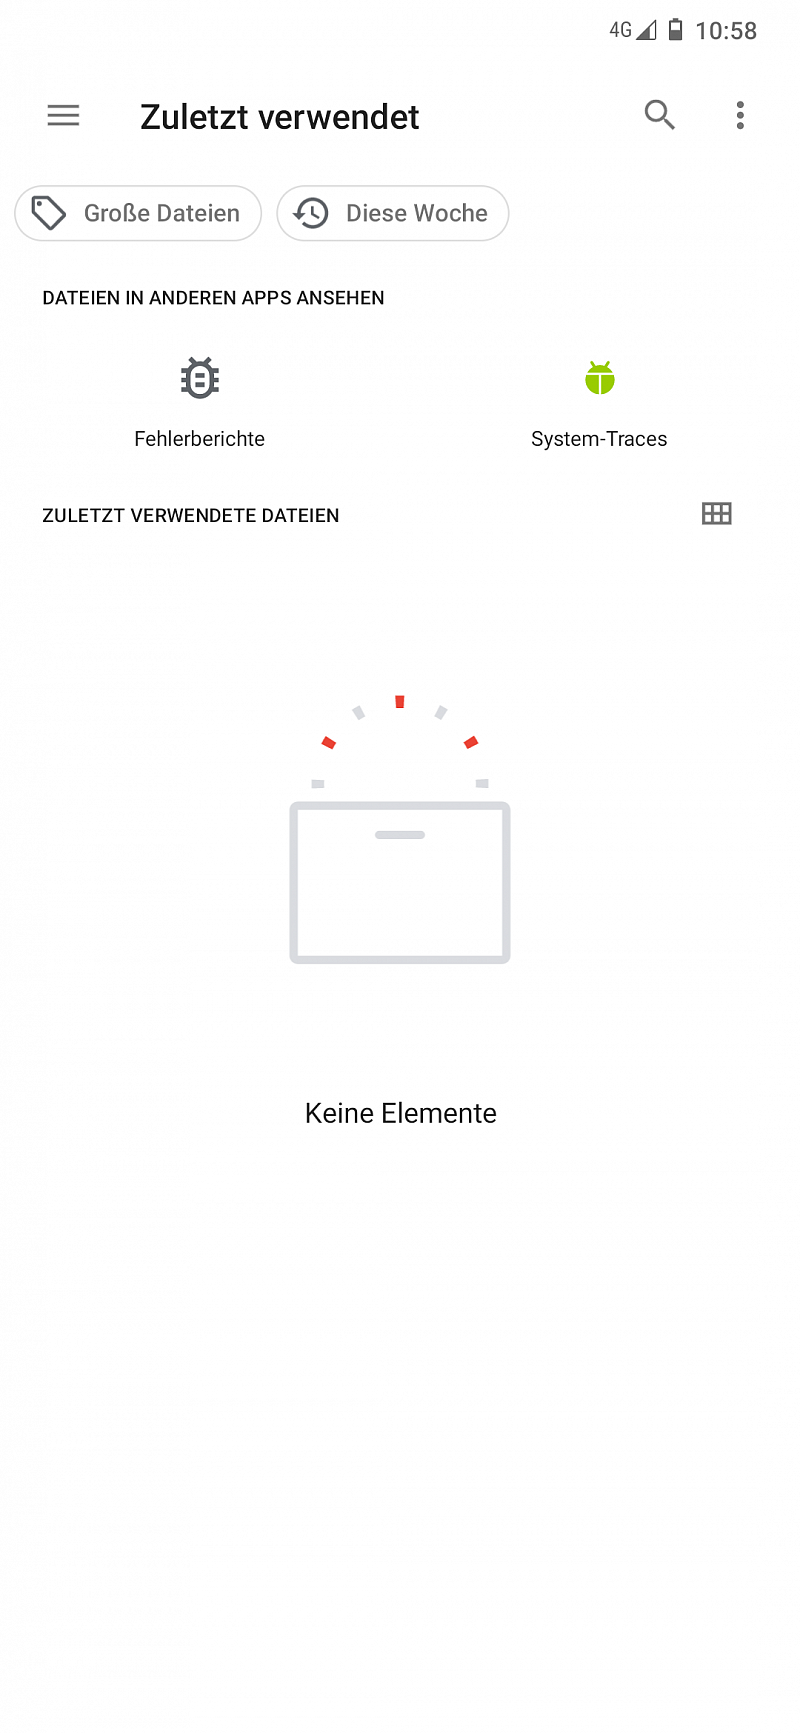
File manager recently used
This will open a file selector so you can choose which file to install. Tap the "hamburger icon" on the top leftthe three parallel horizontal linesto switch to your Downloads directory.
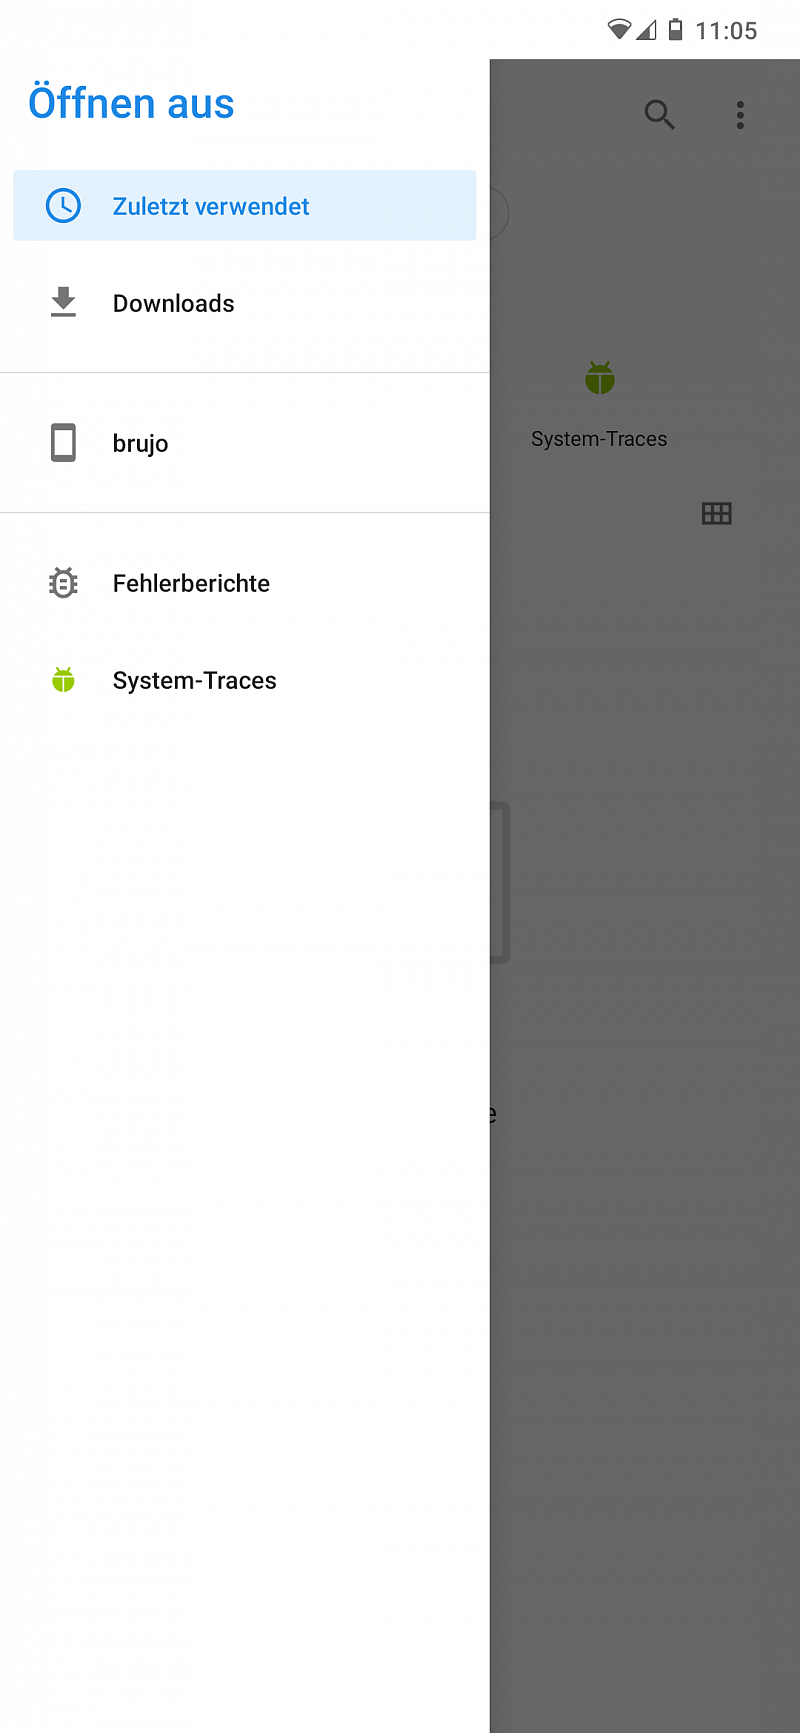
Open hamburger menu
Tap "Downloads" to switch to the directory containing your certificate file.
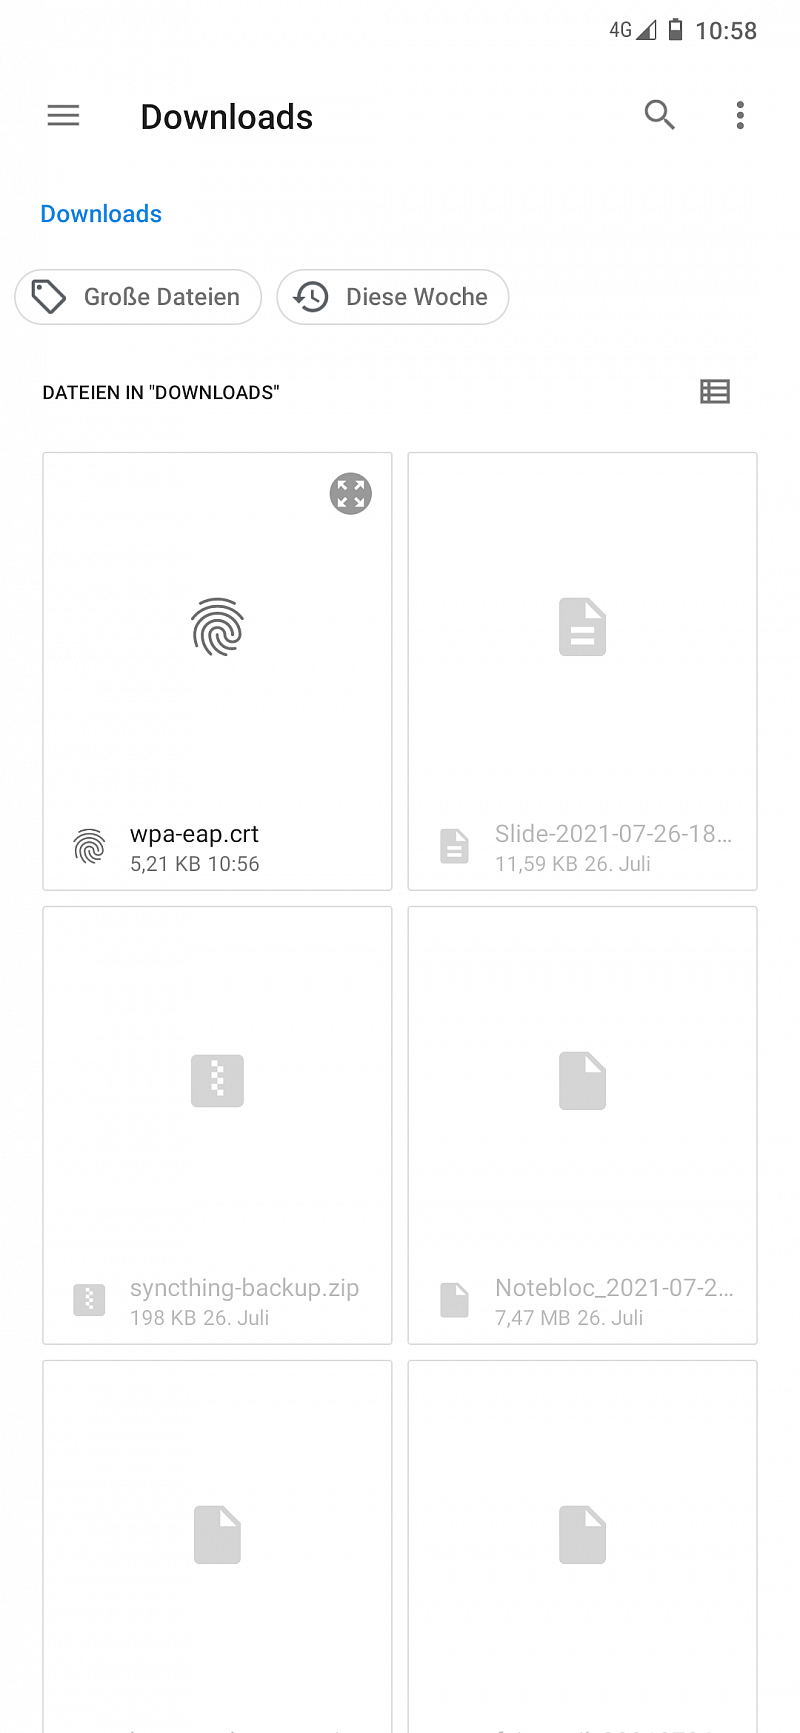
Downloads directory with certificate file
You should see the downloaded certificate file. Tap it to start setting it up as a WiFi certificate.
PIN, security pattern, or password may be necessary
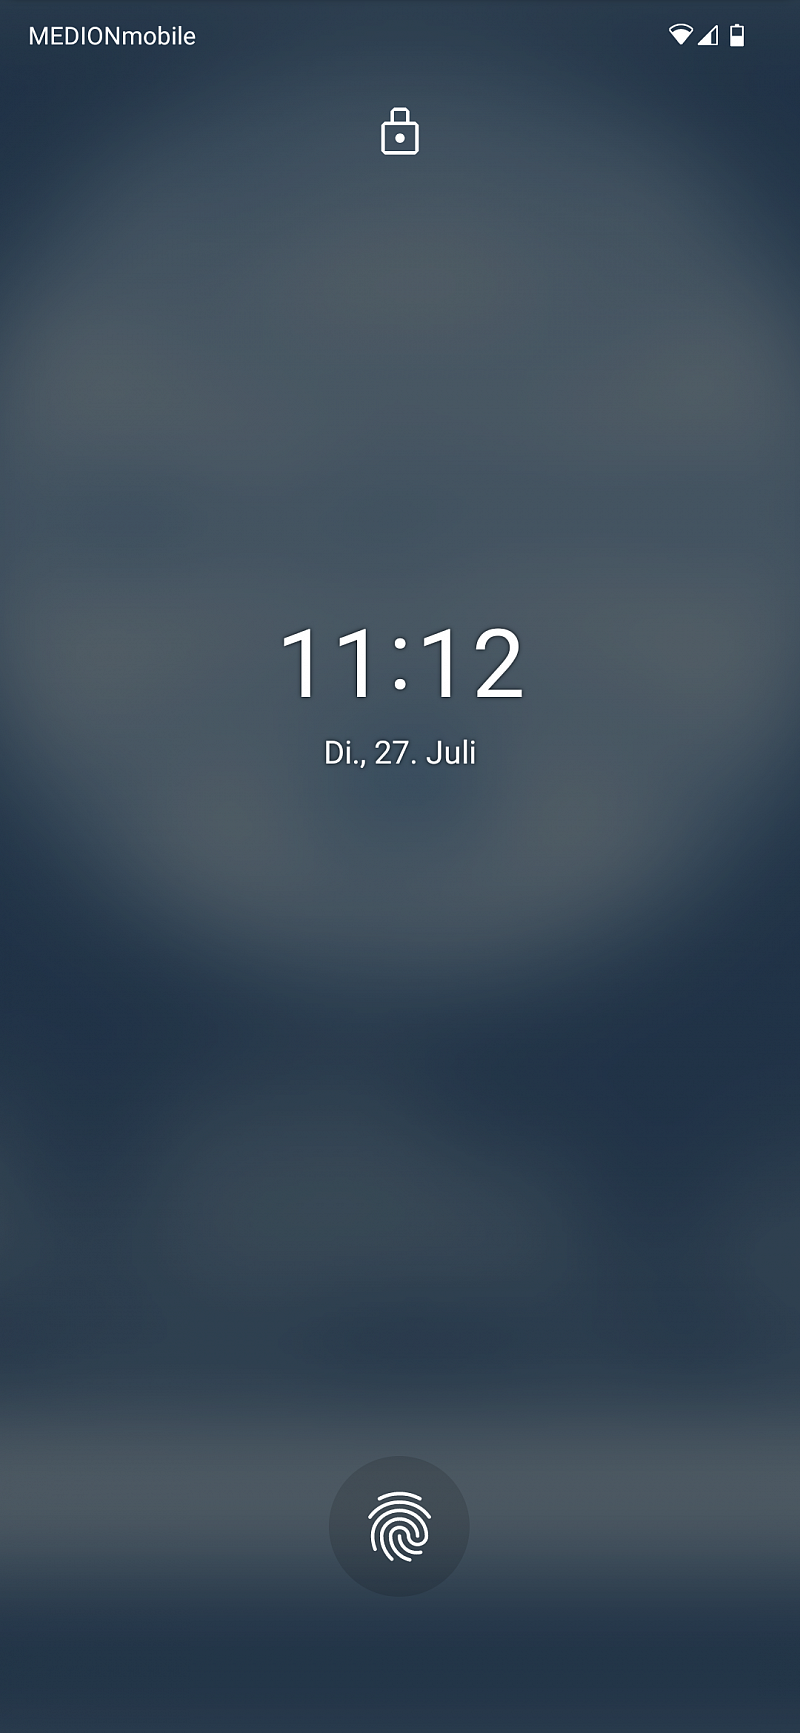
Android screen lock
Using a security feature (PIN, pattern, or password) may be a necessary requirement for using a certificate, depending on your phone and its vendor. If no security feature has been set up before, your phone will ask you to do so before allowing you to proceed.
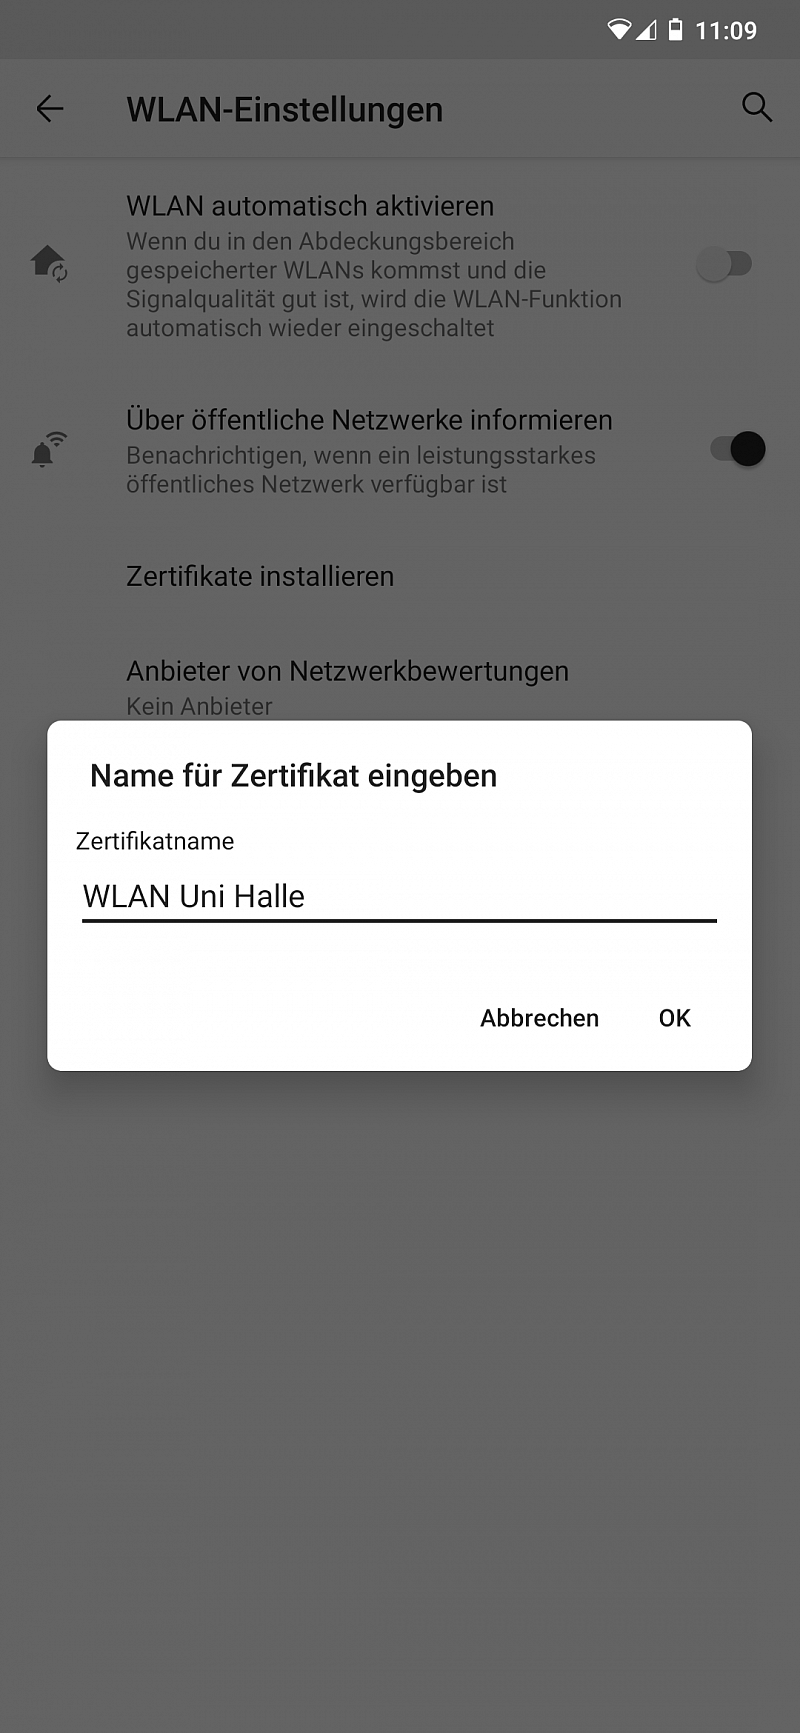
Enter name for WiFi certificate
Enter the certificate data. You can choose any name, but we recommend "WLAN Uni Halle".
If your phone asks for the certificate's intended purpose, select "WLAN".
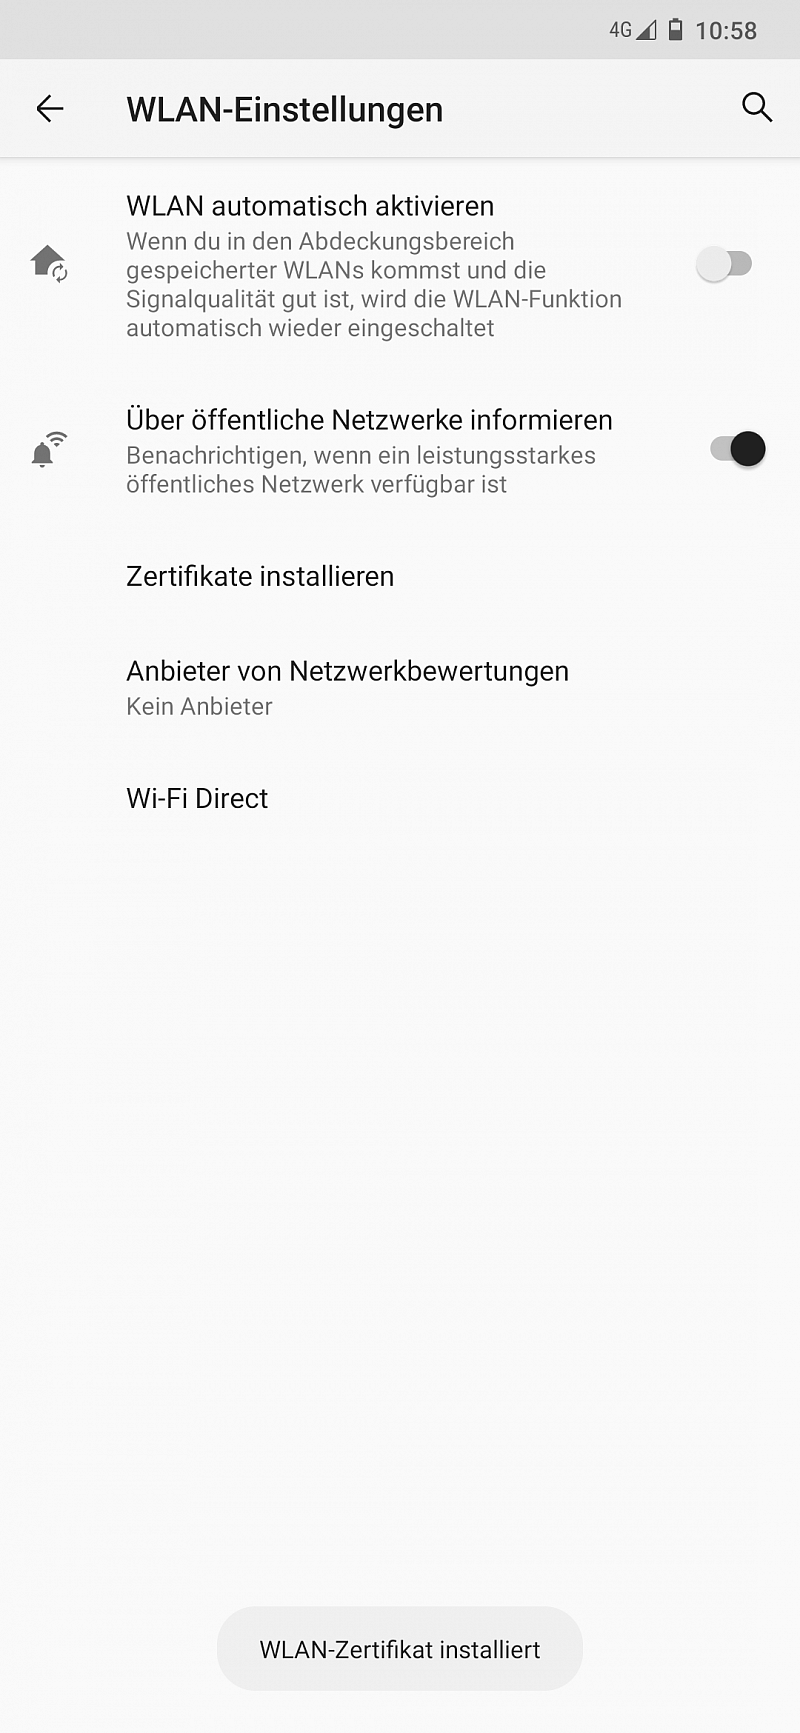
Certificate installation successful
Your device will notify you once installation is complete.
Connecting to the University Network
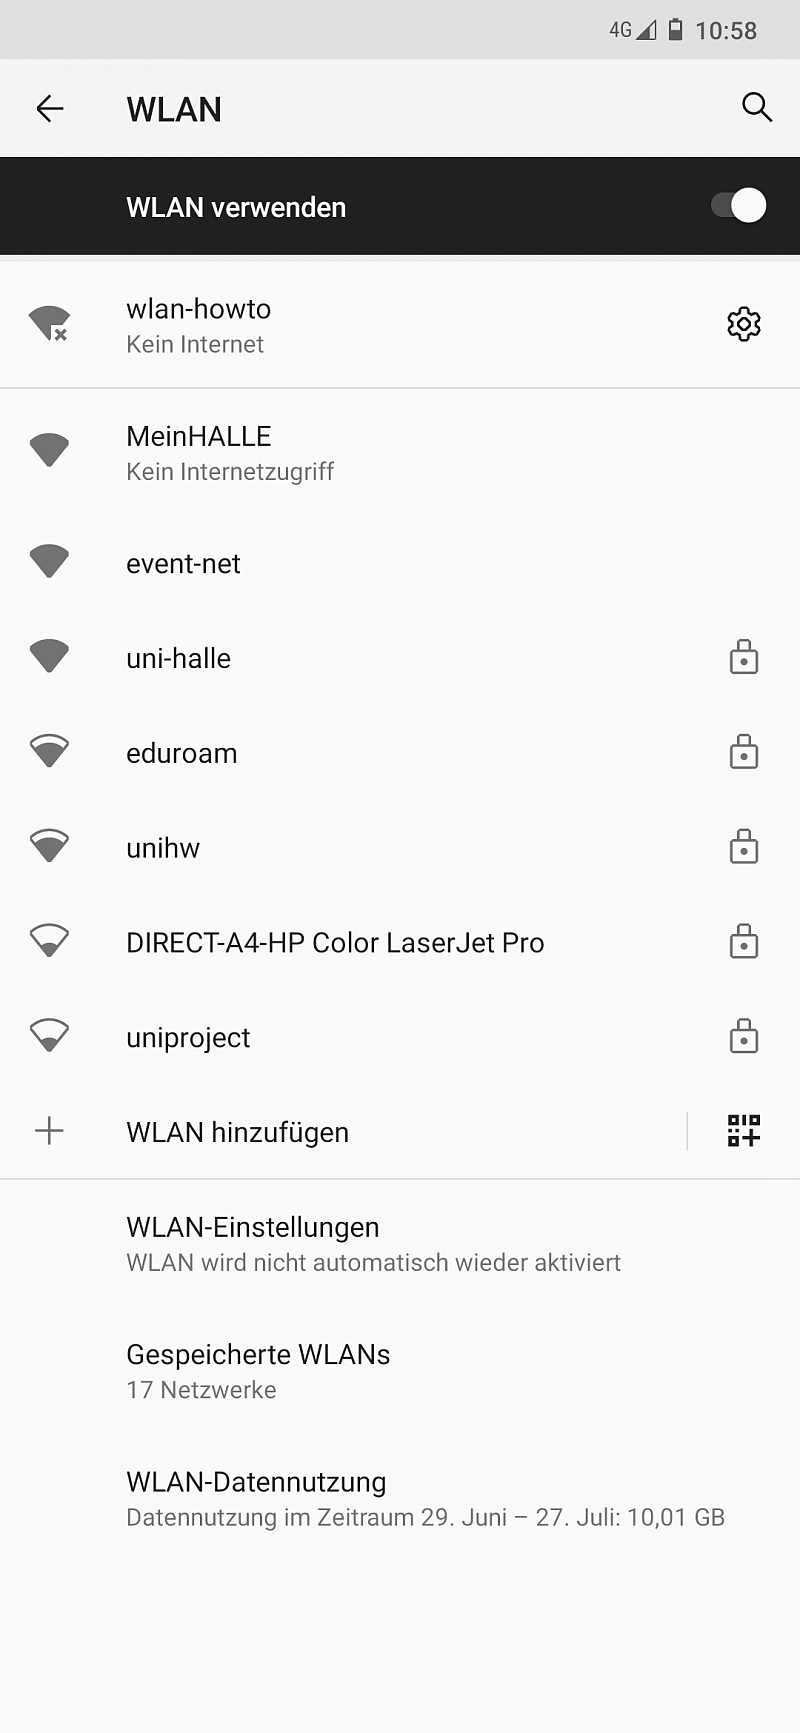
WiFi, disconnected
Open your WiFi settings menu and select the network "uni-halle". This will open the Security settings page for your chosen network.
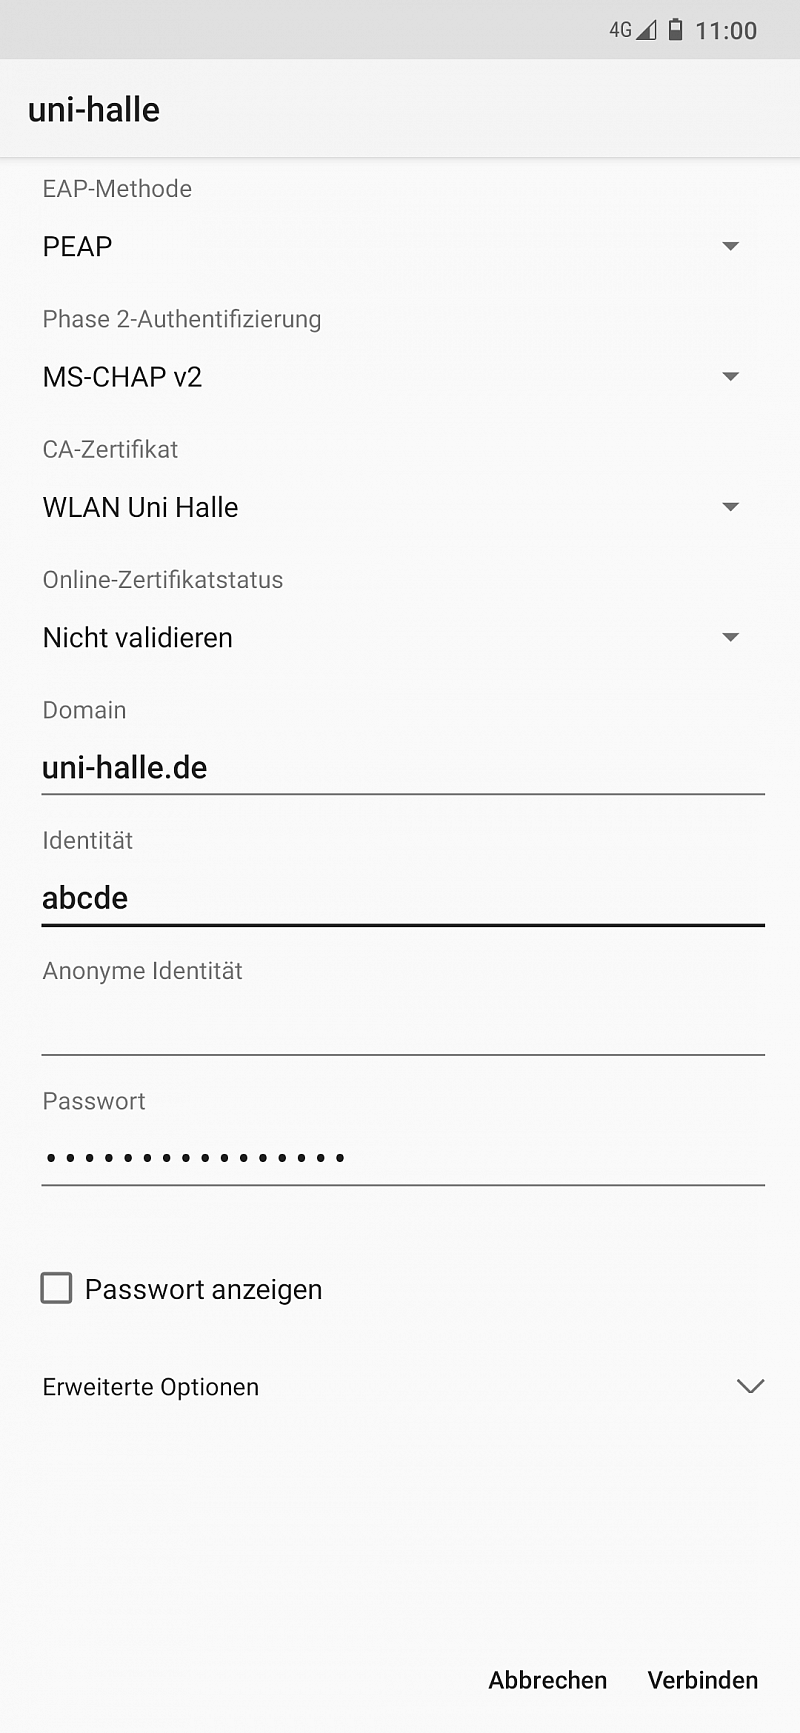
Security settings for WiFi network "uni-halle"
Choose "PEAP" as the EAP authentication method and "MSCHAPV2" for the phase 2 authentication method.
Select the just installed "WLAN Uni Halle" certificate in the "CA certificate" field. Leave the online certificate status on "Do not validate".
Enter "uni-halle.de" (without the quotation marks) for the domain.
Your username is your usual five-character identifier.
Leave the "Anonymous identity" field empty.
Your password is the one you set in the Serviceportal.
Tap "Connect" or "Save" after entering the above settings.
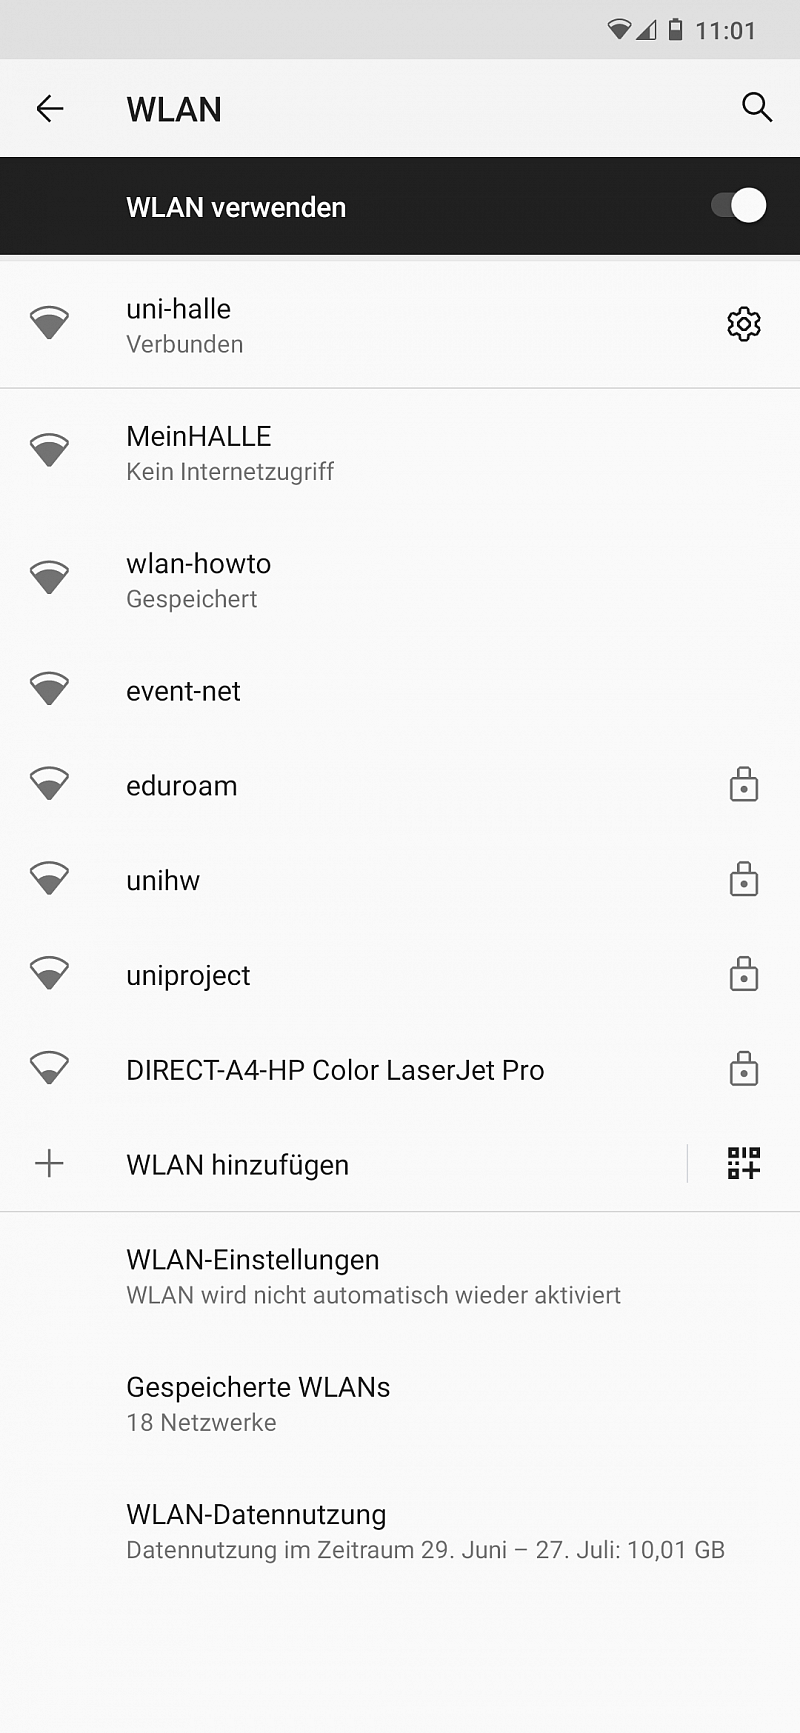
WiFi, connection established
If everything has been set up correctly, your device should have successfully established a connection with the university network.